

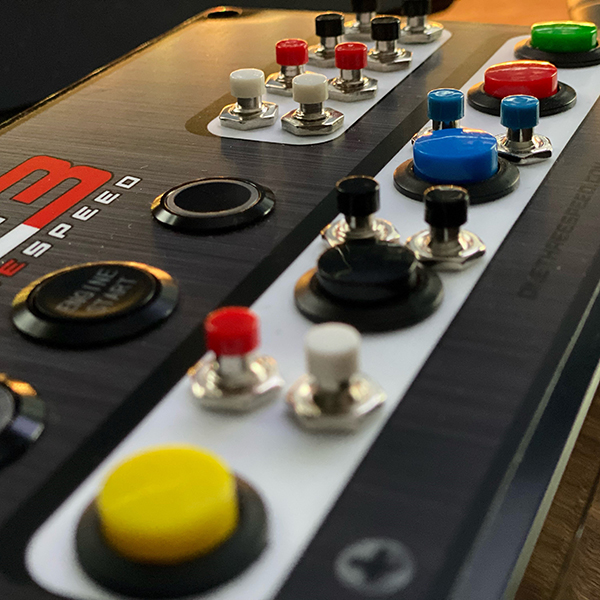
Button Boxes
I throw myself down among the tall grass by the stream as I lie close to the earth.
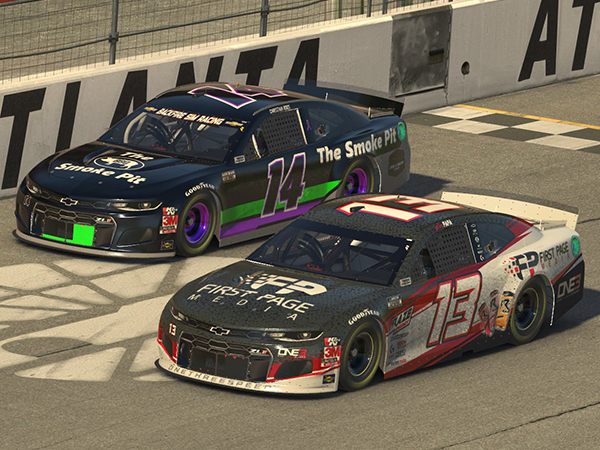
We make awesome sim racing products to support the iRacing community as well as host special events and leagues. We dabble in the racing part too.
We have awesome stuff just waiting to be yours. Browse the store to find some hardware and gear upgrade your racing rig and improve your on-track performance.
We do a TON of stuff and that list will be growing as we go, but, check out the things that we are most proud of!
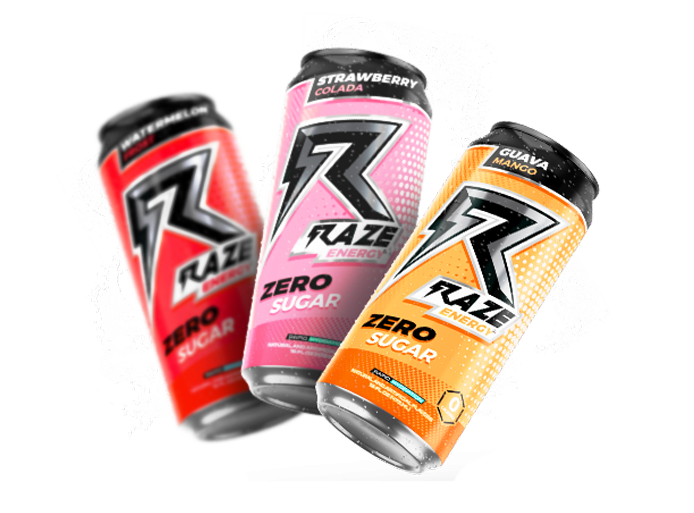
Zero Sugar. Zilch. Nada. Noneso. Plus, they taste great.
Save 15% Now!